Project Water Heater, part 2
In part 1 of this blog, I don't think I mentioned that it's hot and humid here in Grenada. Temperatures are still in the upper 80s and low 90s (that's about 30-33°c for our metric friends). Humidity tends to stay between 70% and 90%. It's late October.
And, thanks to hurricane Tammy way off to the north, there's no wind here.
The result is a lot of sweating. This will be important later on...
Saturday
Saturday morning's coffee was smooth, with just a hint of dread. I spent way too much time on productive procrastination - cleaning, taking care of the pups, doing things other than facing the water heater. Eventually, I guilted myself into facing this new demon. And I was feeling a lot less "salty" than I was Friday evening.
Things had dried well overnight, with no new signs of water. There was a drop of coolant that leaked from the coupler connection, but that's not surprising since I didn't put the band clamps on the hoses. No worries there.
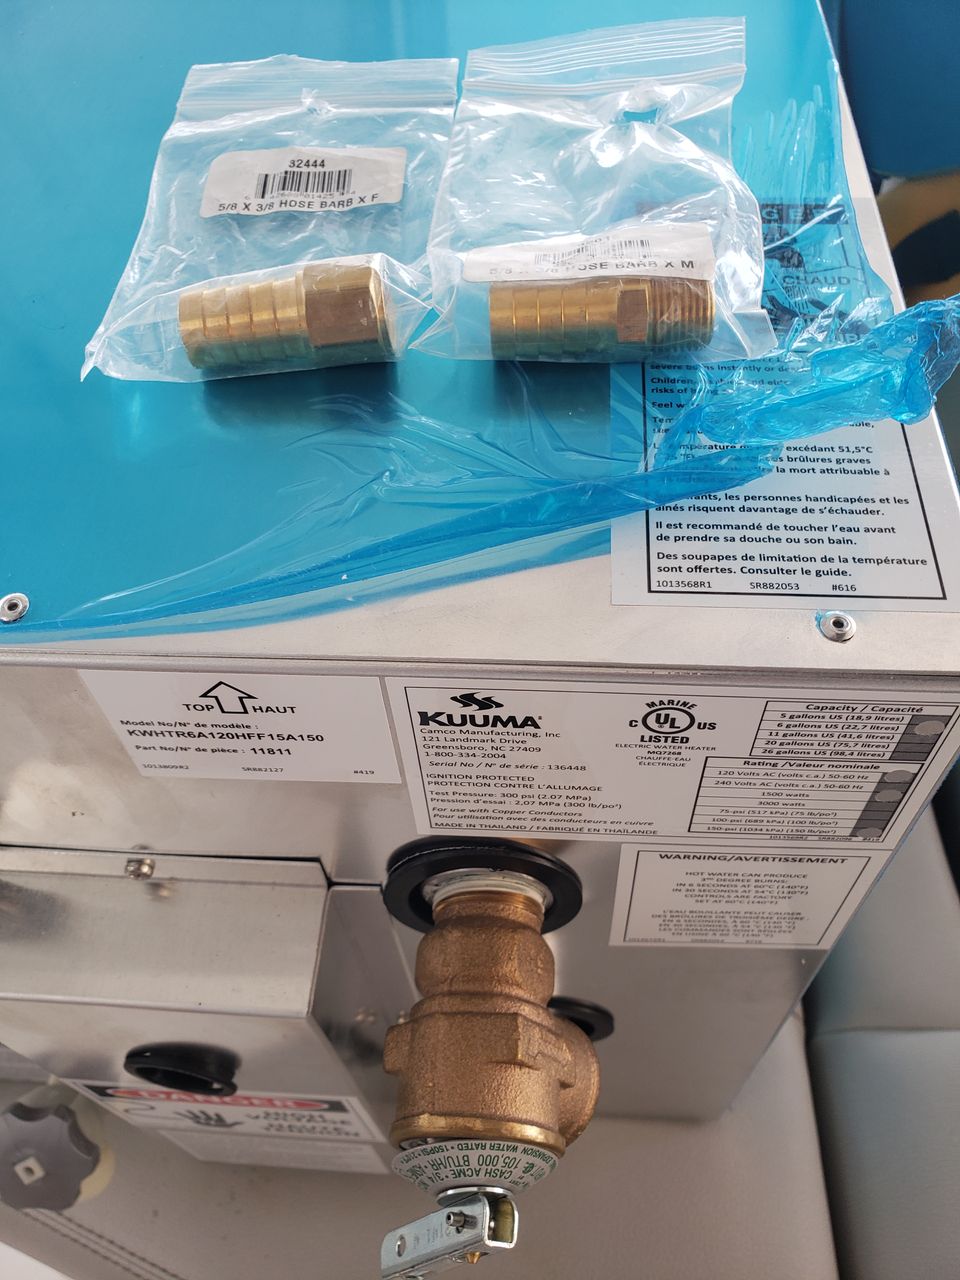
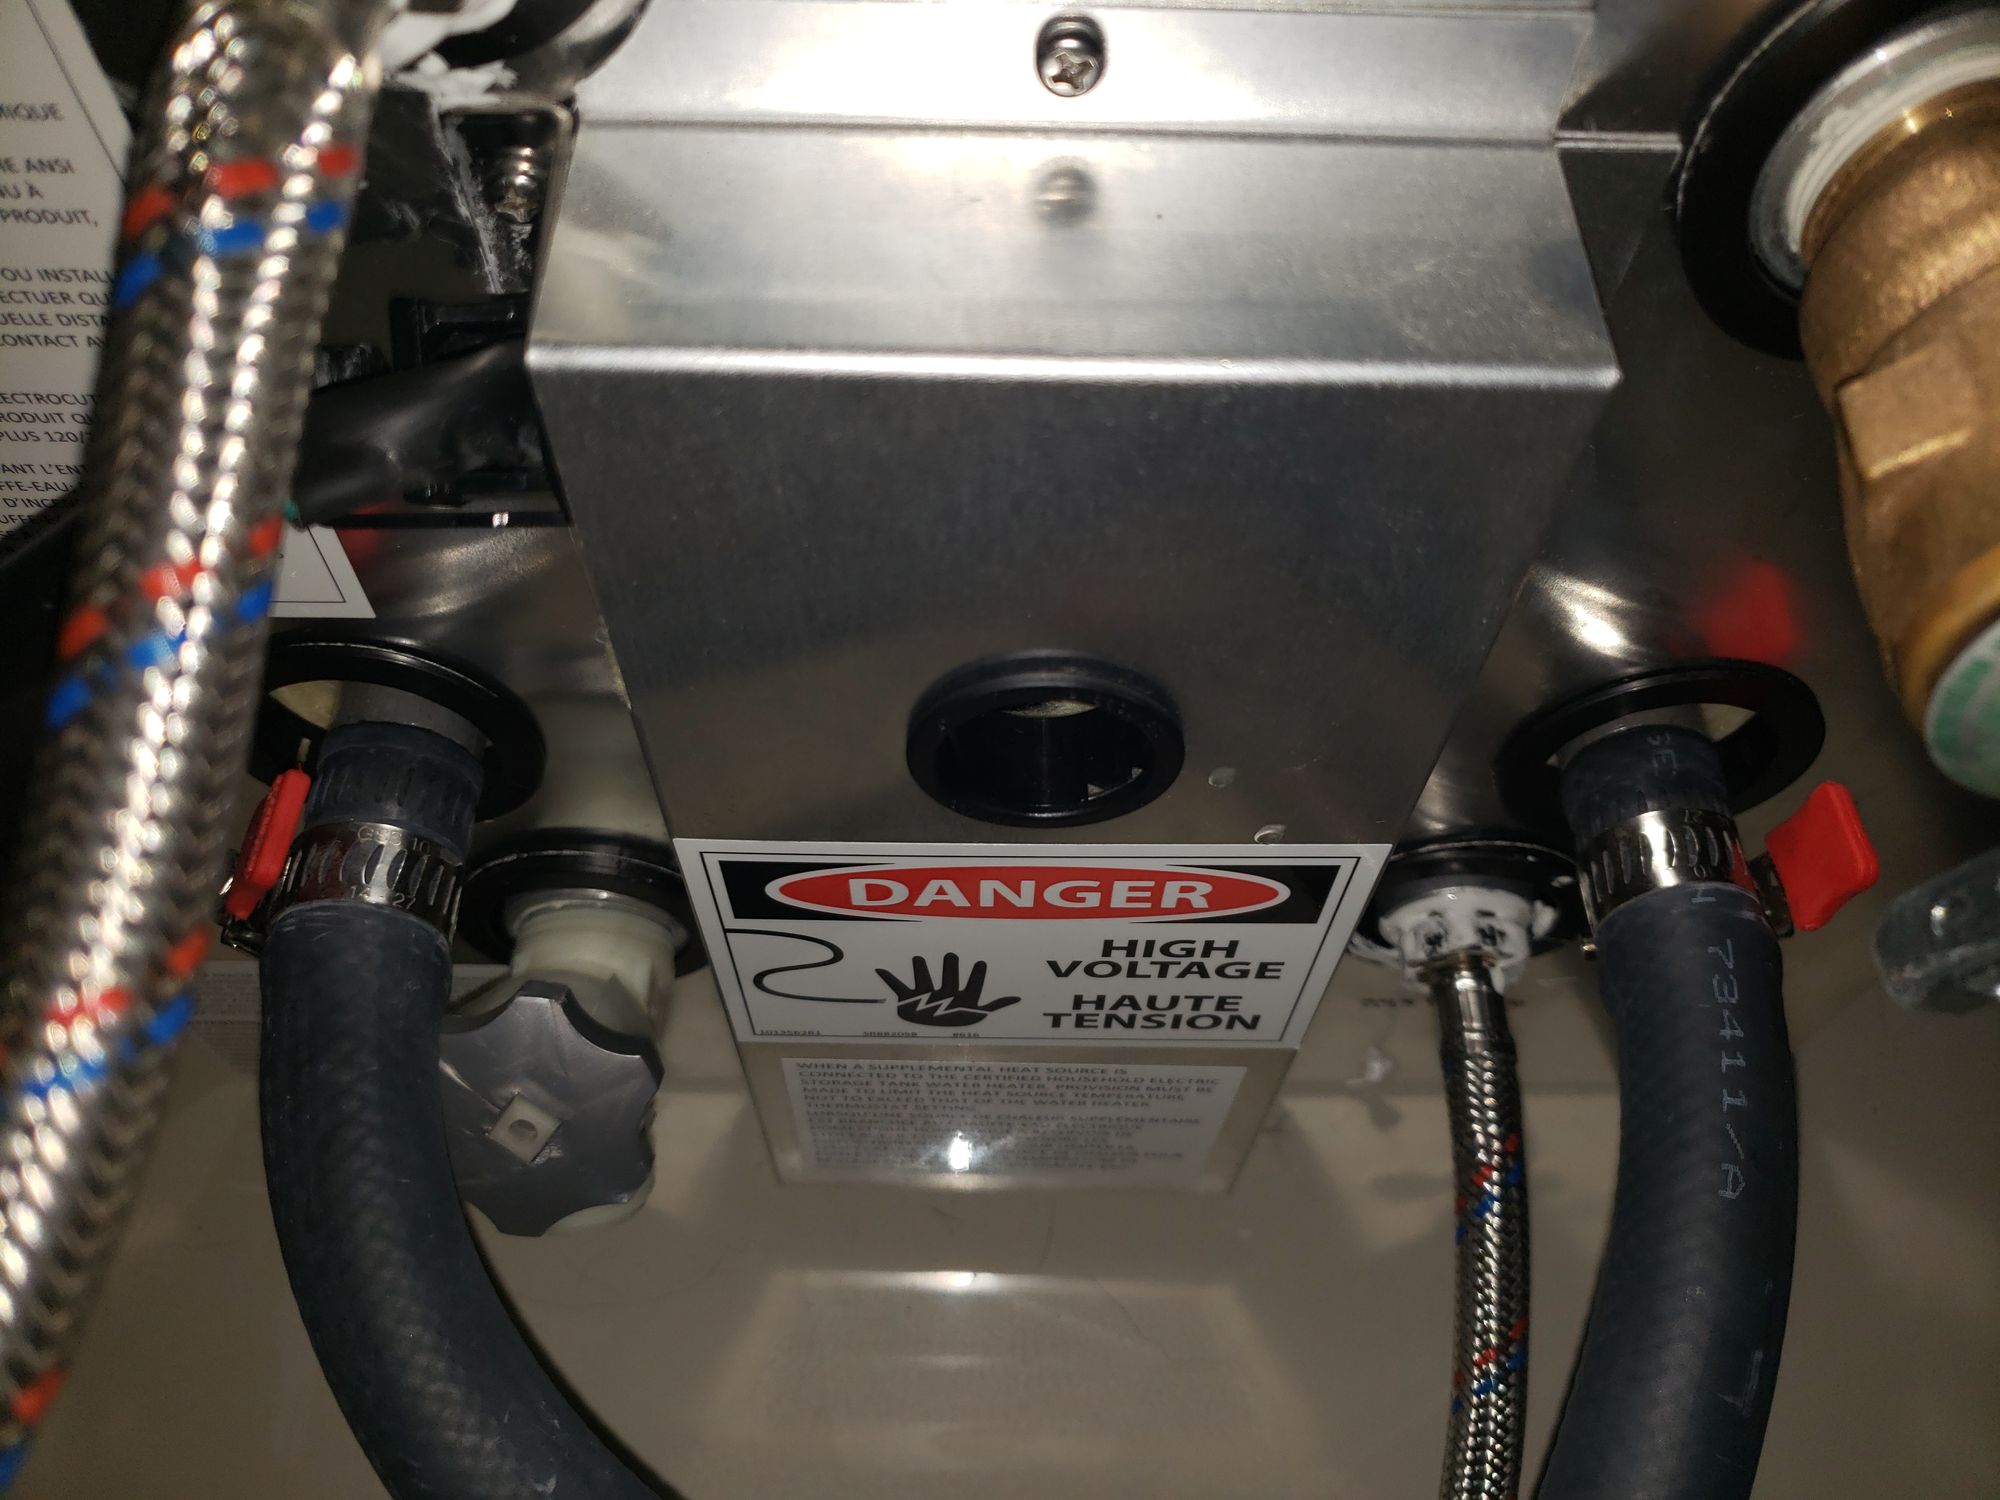
I used a shop towel to thoroughly dry the threads of the water supply hoses and the corresponding threads in the water heater inlets. Everything still looks good, no galling of the threads, and I had gotten all of the Teflon tape out. I have some 3M 5200 waterproof sealant, and applied a healthy bead to the threads, then used a wrench to tighten them appropriately.
That's pretty much all I can do for Saturday. I'm going to let the 5200 cure before I try to run any water into the system.
Speaking of, how long does it take to cure? The tube says...7 days to fully cure!?!?! Good grief.
Looking online, I see lots of people say that in 24-48 hours, it will be cured enough to be waterproof. The 7 days thing is just for maximum strength when you need a mechanical bond, using the sealant to hold things together. Ok, 24 hours sounds reasonable.
Let's run a test, I'll put a bead of the sealant on a sheet of paper and check it at various intervals. When it's solid enough, I'll try hooking up water again. I'll even try 2 beads, one that has been exposed to water and one that hasn't.
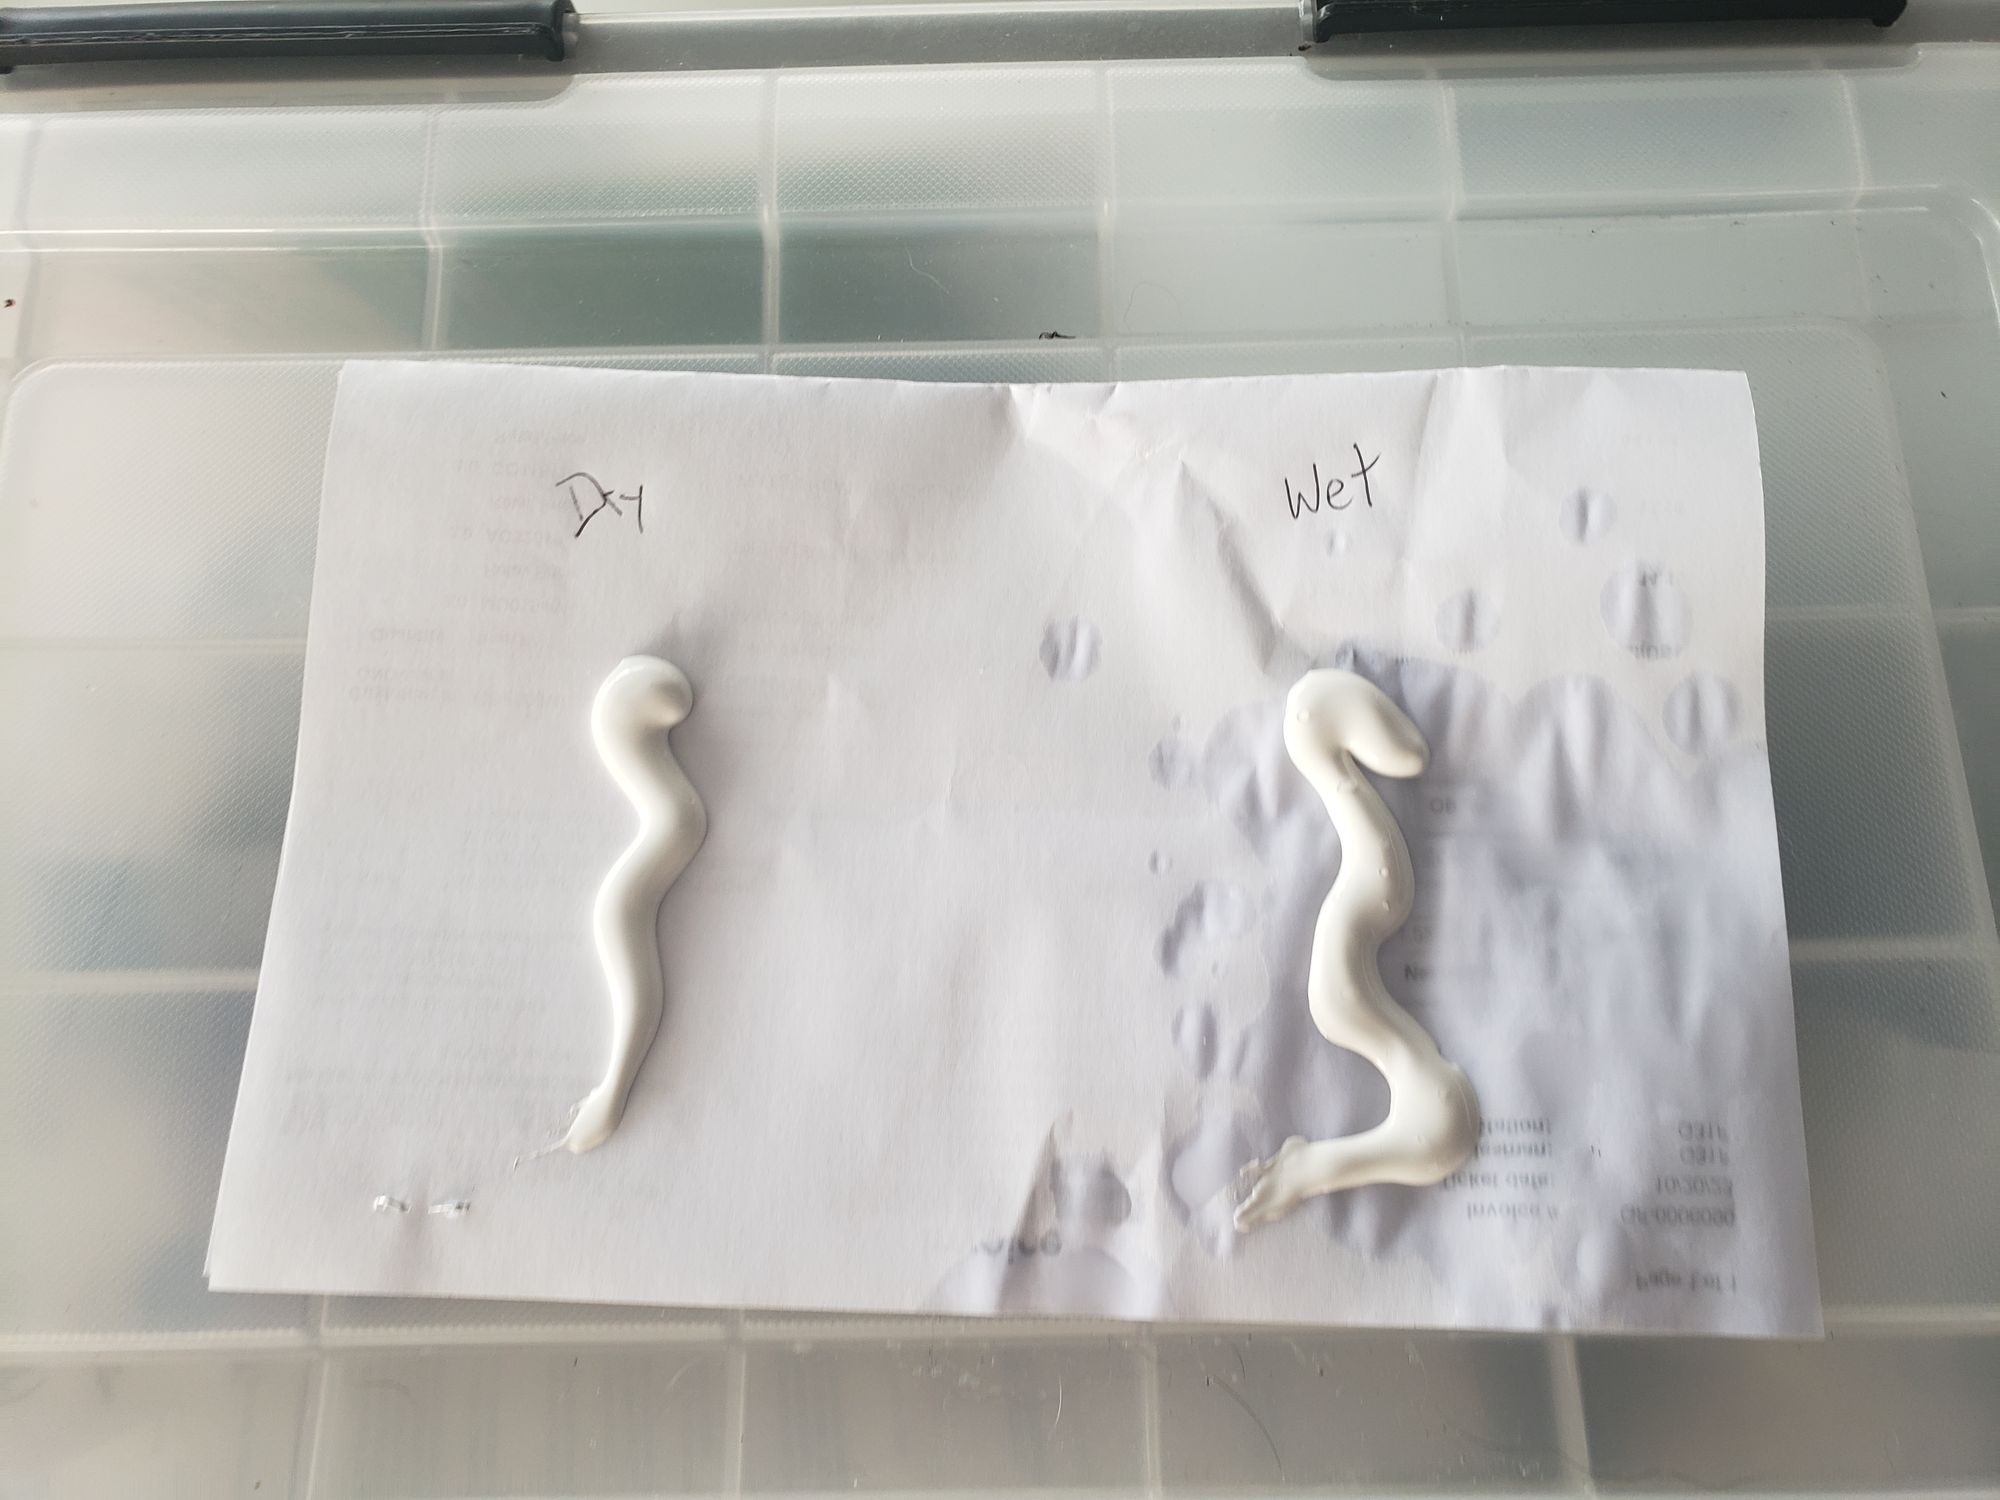
Checking the test bead at 30, 60, 120, and 240 minutes, I saw it start to get solid around 240 minutes. This was around 8pm on Saturday.
Sunday
On Sunday morning, the test sample was quite solid, though I could still apply pressure and cause a bit of a crease to form in it. By noon, it was completely solid. There was no difference between the wet and dry samples.
That hint of dread has returned. It's time to put the water heater to the test again.
Connecting the cold and hot water lines again, it's time to turn the valve. I can hear water starting to run, and then the water pump kicking in. With a flashlight in hand, I'm watching the threads like a hawk.
Is that a drip? Ah, no, that's just some 5200 that dripped out overnight. Whew...
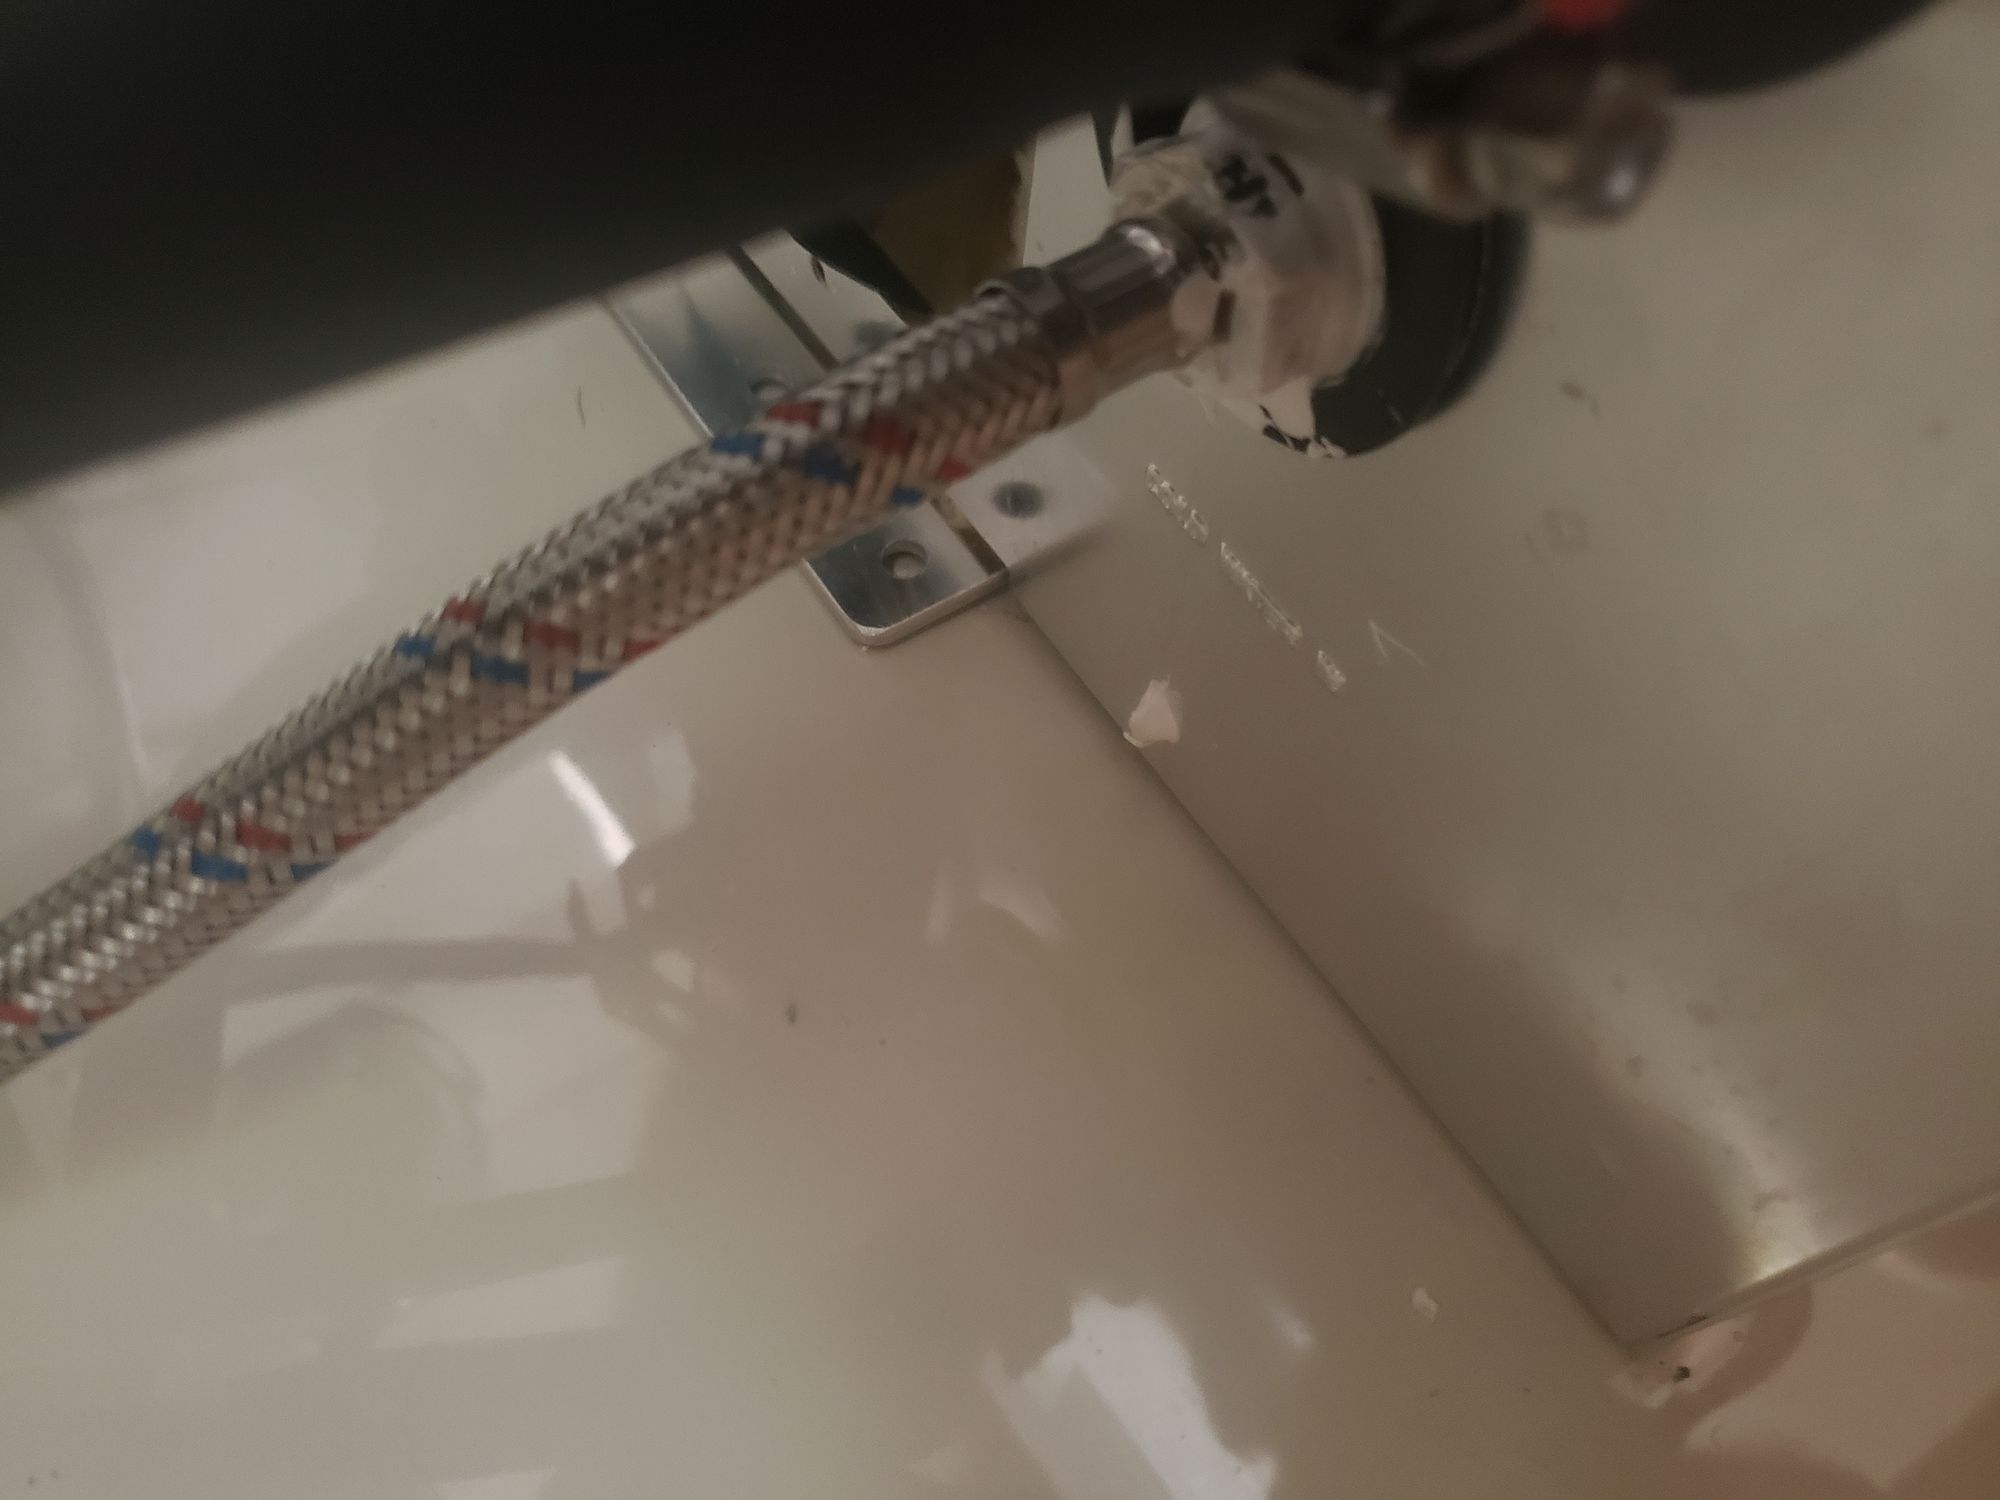
Wait, is that a drip? Ah, no, that's just sweat dripping from me. Whew...
Oh god, I'm dripping sweat everywhere, constantly freaking myself out. Where's a towel? I really need to dry myself off.
Let's do the paper towel test - run a paper towel around the connectors and see if there is even a hint of water. Nothing! So far, so good.
The water pump stopped running and the paper towel is still dry, so it's time to bleed air out of the system. Lots of sputtering and gurgling ensued, same as last time. It's taking forever to get a solid stream of water, and the whole time my mind is imagining water gushing out of the water heater connectors.
Finally, the air ends and water starts, so I can turn off the faucet. The water pump stops again after a few seconds, let's go back to the water heater to check on things.
Nothing. What relief. Paper towel test. Nothing. Check it again. Still nothing.
So, how do you know when something isn't leaking? I mean, it's not leaking right now, but it could start leaking at any point. How long is long enough before you declare victory? I'm still pretty scarred (and salty) from my failure on Friday. I think I'm going to need at least 24 hours of being completely dry before I even want to hook up the coolant lines and try to heat some water.
The rest of Sunday was spent periodically doing the paper towel test. I got a pretty good workout going up and down steps, and crawling into and out of the bilge.
I also set up some water leak sensors, one near the water heater, and one down in the lower part of the bilge under the bed. These connect to our home automation system in the boat. When water is detected at either of these sensors, we will receive an alert on our phones, and a message will be played on the speaker. It's loud enough to wake me up. Also, if the sensors go offline for any reason, I'll get an alert so that I can figure out what is blocking the signal.
With this in place, I can relax a bit and do other things, until Monday.
Monday
It was a real challenge forcing myself to wait 24 hours, but time did indeed pass (as it always does). Finally, we can proceed to phase 3 of the project - connecting the heat exchange hoses and running the engine for a while. This will not only test that there isn't a coolant leak, but it will tell me whether or not there is air trapped somewhere (potentially causing the engine to overheat), and it will show whether or not the water heater can hold water when hot. I'll have to keep track of 3 things at once. No stress, easy as can be.
Removing one hose from the coupler was easy, and it slid nicely onto the water heater fitting. The second one was more of a challenge. I finally succeeded in removing it whilst spilling a bit of coolant and cursing appropriately. It slid nicely onto the other fitting. The band clamps were still in place on the hose, and were tightened appropriately.
I spent a fair bit of time cleaning thoroughly, making sure that there was no coolant anywhere, and no water anywhere. I was going to be using the paper towel test again...I don't want even a hint of moisture before I start the engine.
Oh, wait, I also need to make sure that the coolant level in the engine is full, and that the overflow tank is at a known level. I marked the tank with a Sharpie.
Three...two...one...ignition. First things first, I need to make sure water is flowing out the wet exhaust. The engine draws sea water in to the 2nd stage heat exchanger, which pulls heat from the coolant loop and pumps it overboard. If this isn't working for some reason, the engine will overheat quickly. This looks good, so now I can check on the water heater.
Down the stairs, climb on to the bed and down into the bilge. Still dry. No leaking water or coolant. Whew...so far so good.
I can monitor the engine temps from the home automation system, so I have a flashlight in one hand, a paper towel in the other, and my phone streaming engine statistics. I can feel that the coolant hoses are getting warm. A few minutes later, they were hot.
The engine coolant temp stabilizes at 168°f (about 75°c) at idle, and gets as high as 174°f (79°c) when it's working hard.
After a few minutes of this, I turned on the faucet to pull some water out of the water heater. It didn't take long for piping hot water to come out. Success! The engine heat exchange loop is working, and there still isn't a hint of leaking water or leaking coolant.
I'm feeling pretty good about this, so I turn off the engine and let things cool down. I'm going to have to run the engines tonight to charge up the batteries, so the system will go through another hot/cool cycle. I'll keep checking for leaks periodically throughout the day.
Tuesday
On Tuesday morning, I checked everything again, and it still looks good. It's time for phase 4 of the project - hooking up the wires and testing, then mounting the water heater.
Thankfully, this part went smoothly. Having taken pictures of the connections, it was easy to match them up and crimp the butt splice connectors. After crimping, I gave each pair of wires a tug to make sure they are secure and wouldn't slip out.
Testing involved turning on the breaker, making sure that the breaker didn't trip and that power usage spiked up by about 1000-1500 Watts, indicating that the heating element was drawing power and heating the water. I didn't let it run a full cycle, which would involve waiting until the temperature sensor causes the heating element to turn off. That part should be good, and it will get tested at some point.
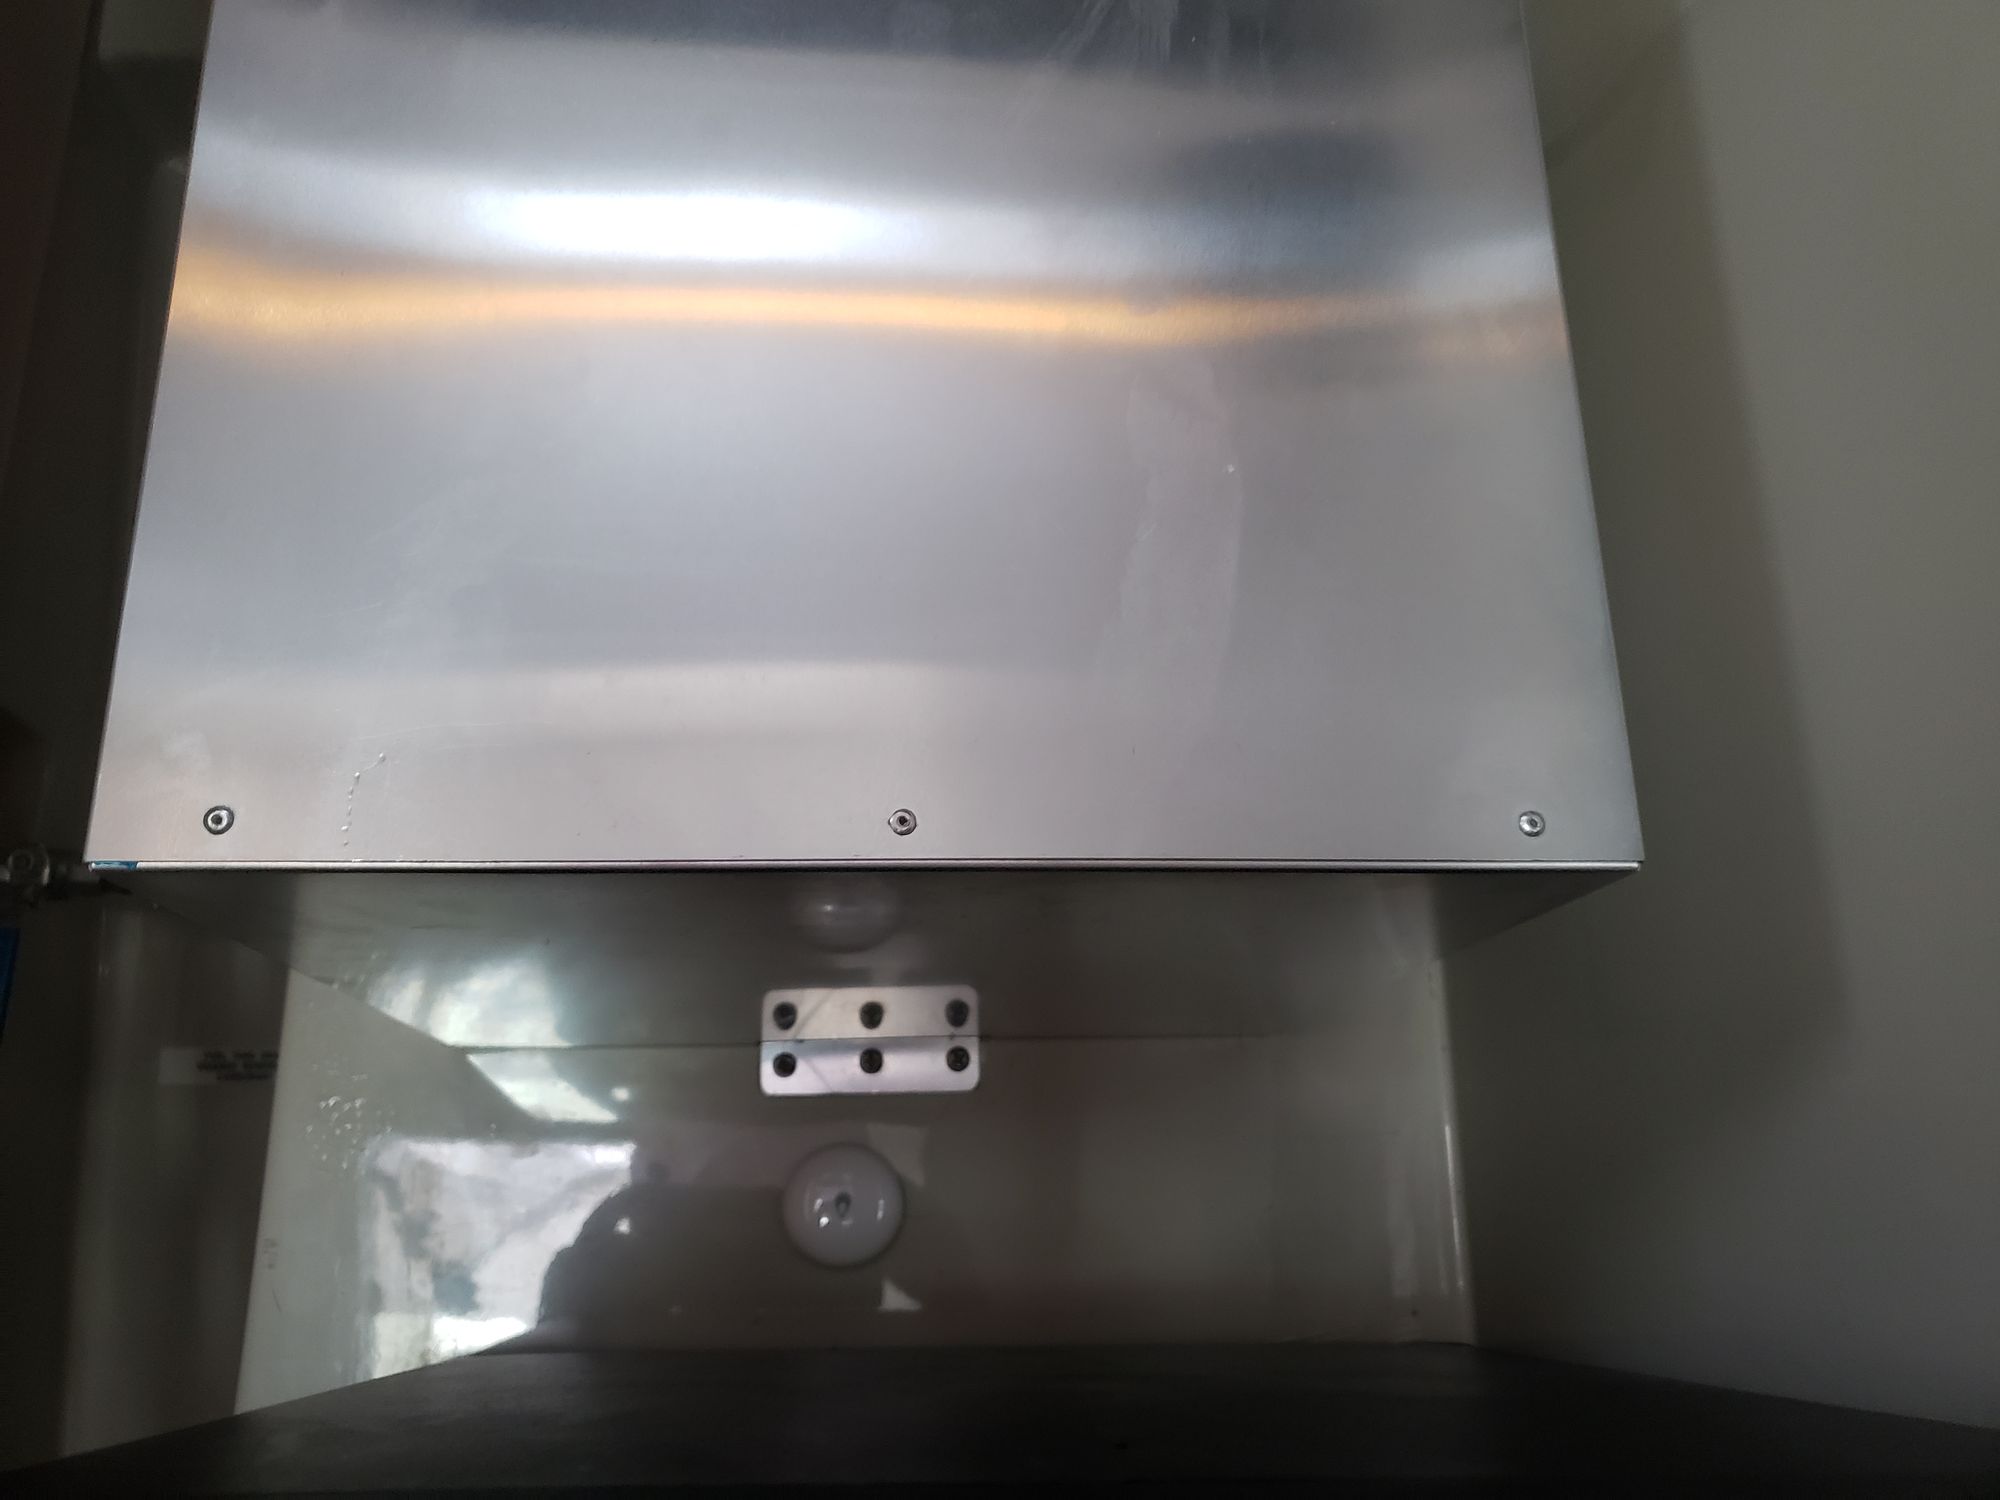
Wrapping up the project, I mounted the water heater to the fiberglass platform in the bilge with 6 screws (using the holes that were already there), and mounted the protective cover over the wiring.
Oh yeah, one last thing...look! Squirrel!
The mattress provided a LOT more resistance going back on the bed, but I managed to get it done. Maybe now I can take a nap...
Wednesday
The struggle is real. Is there a leak? I dunno...the water sensors aren't alerting me to anything, but maybe it's a slow leak? With the mattress in place, it's MUCH harder to check on it and run a paper towel test. I want to look, but I don't want to put that much effort in to it.
Ok, here's the plan, I can put a WiFi enabled action camera and light down there and check from my phone! And then I can hook it up to a Raspberry PI running image recognition software that will alert me to a change...
No, just walk away. It's fine. It'll be fine. Let's go take the Boater Collies for a walk. That'll help.